Ubercorn Game Frame (part 1)
- Update - I’ve added a link at the end of the post to the STL files if you want to print your own*
I’ve long wanted to have my own Game Frame after seeing it unveiled on Tested by its creator Jeremy Williams, but had never gotten round to picking one up. It was however the first thing that jumped into my mind when I saw the unveil of the Pimoroni Ubercorn - a lovely RGB LED matrix that you just need to plug a Raspberry Pi Zero into.
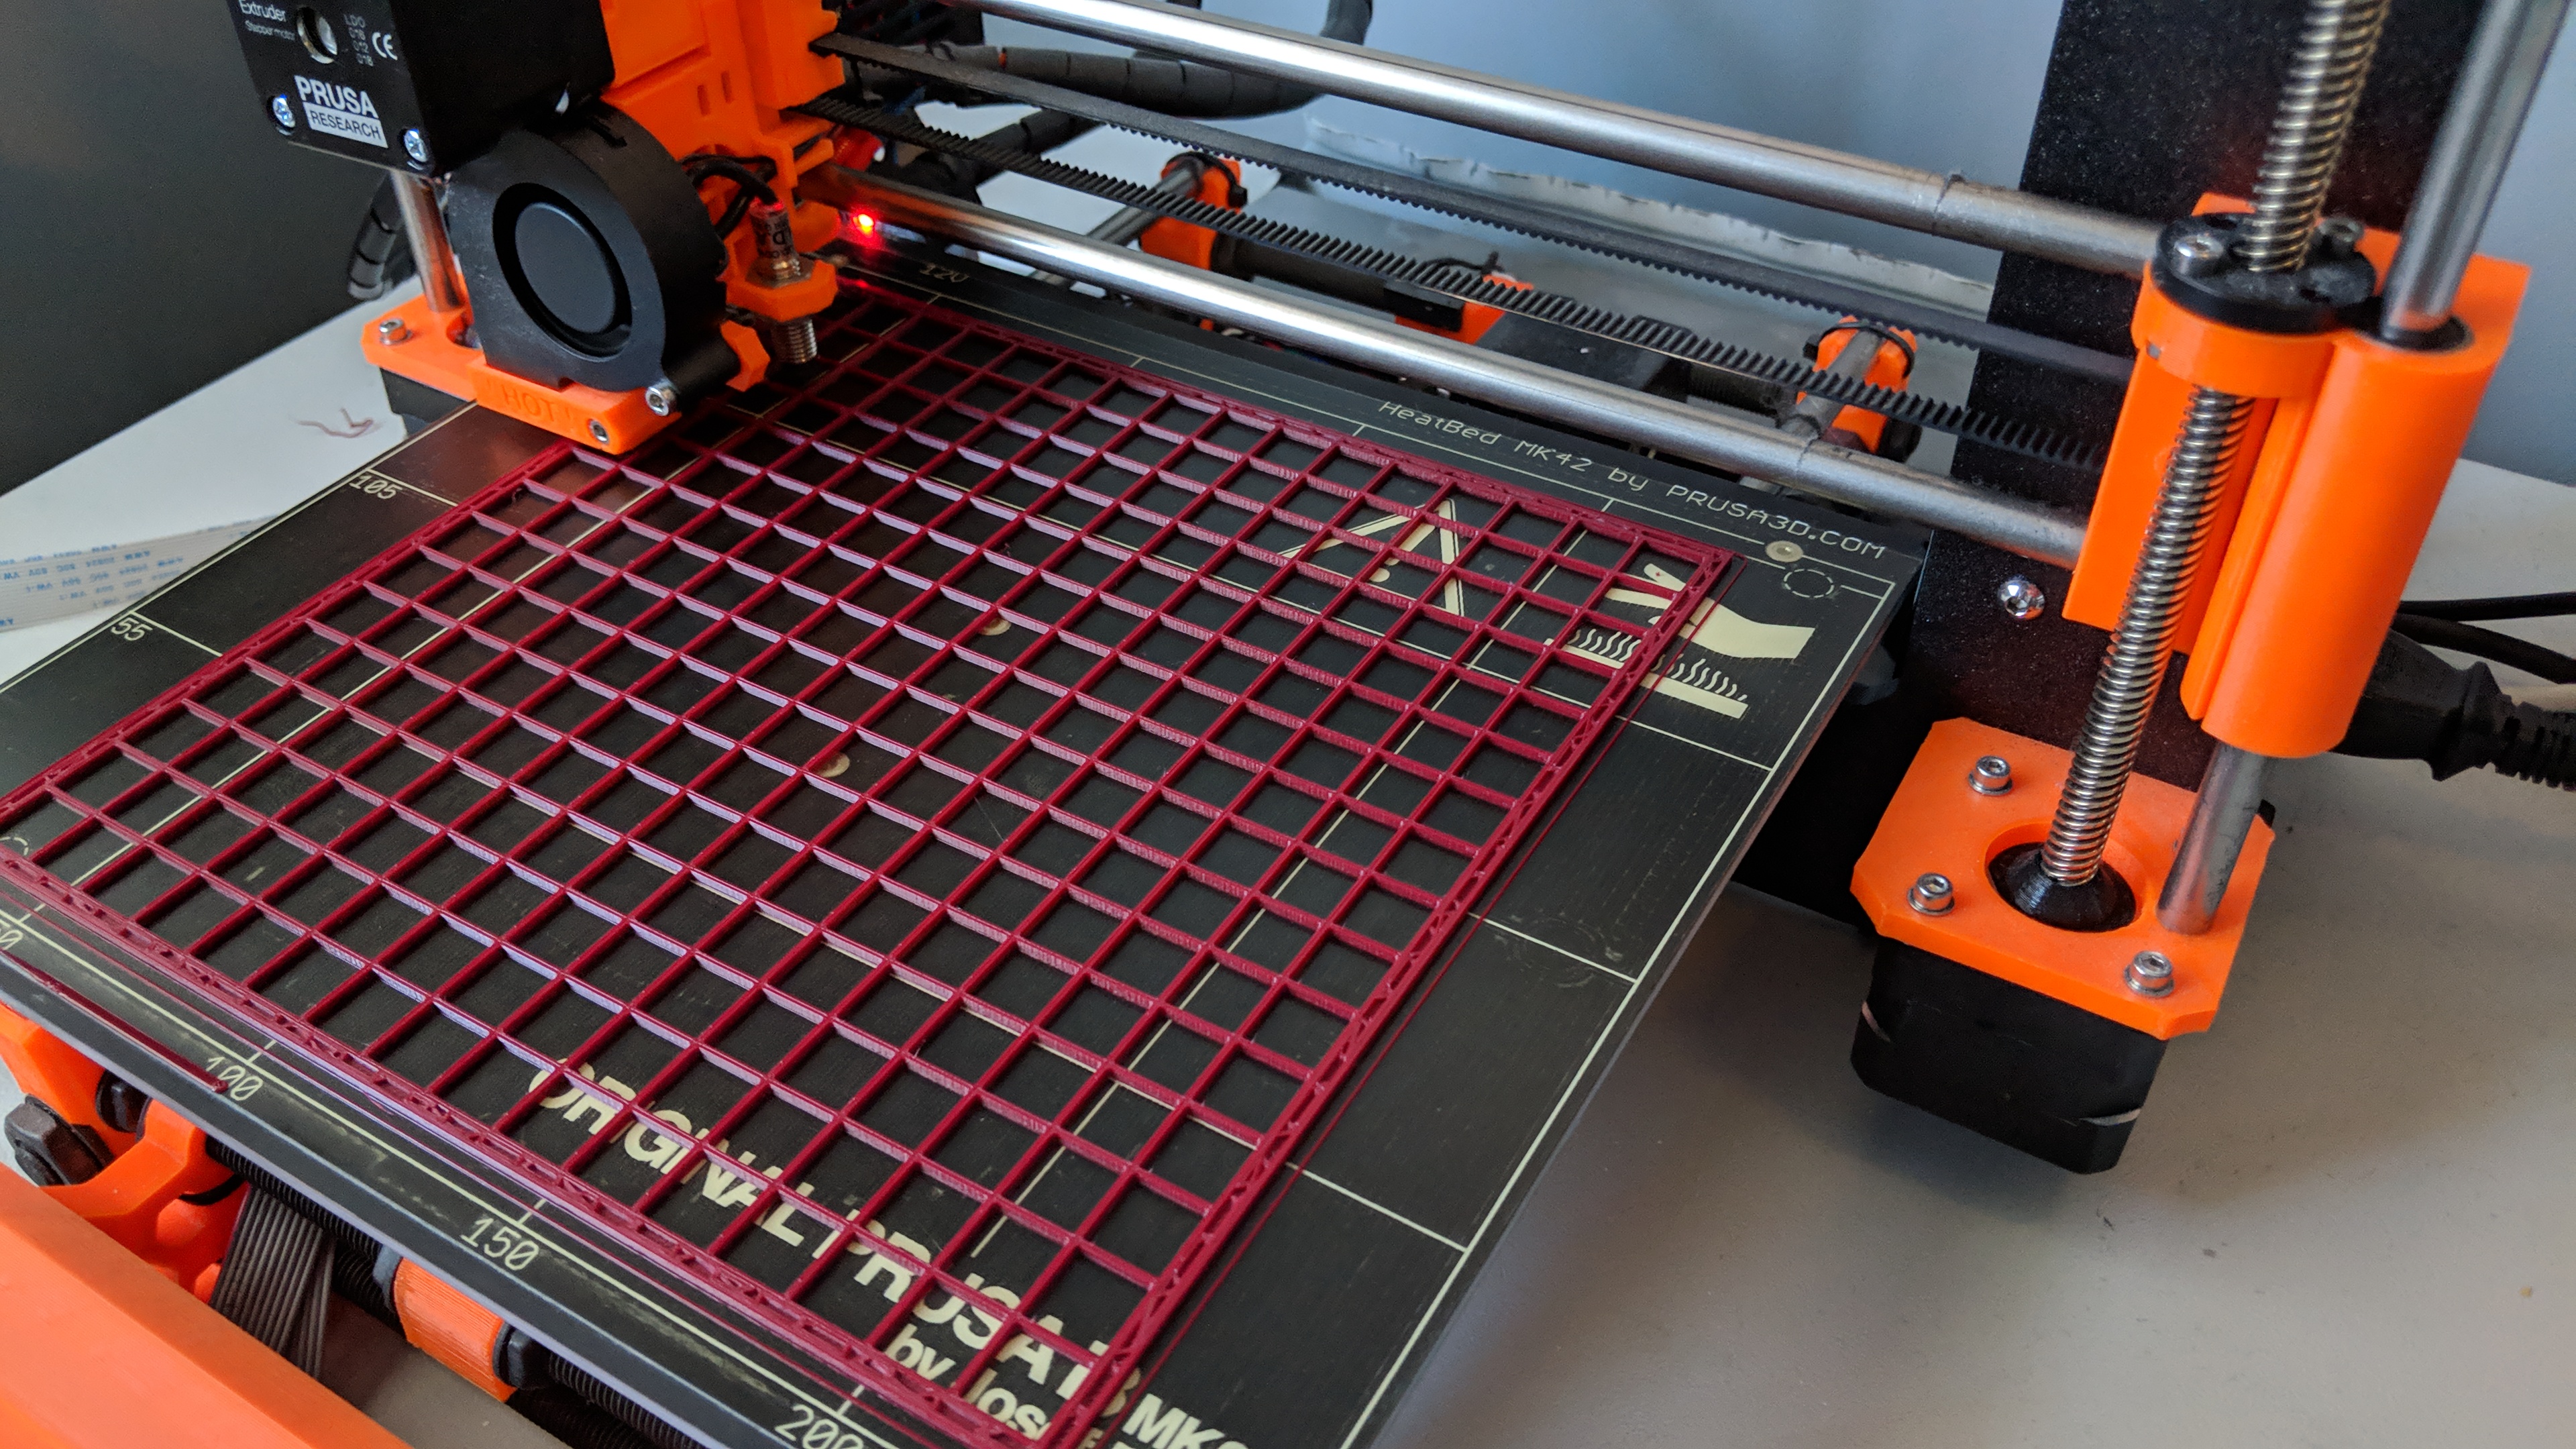
I began by recreating a Game Frame-like mesh in Fusion 360 which prevents light from each LED bleeding when illuminated through a diffuser. I’ll update this post with links to the object files soon.
The print bed of my Prusa3d i3 Mk2 was just big enough to let me print a complete mesh.
The Ubercorn itself is 192mm x 192mm so a quick google later and I found a close match in the Ikea Ribba Frame (23cm x 23cm), its priced very cheaply at £3.95 here in the UK.
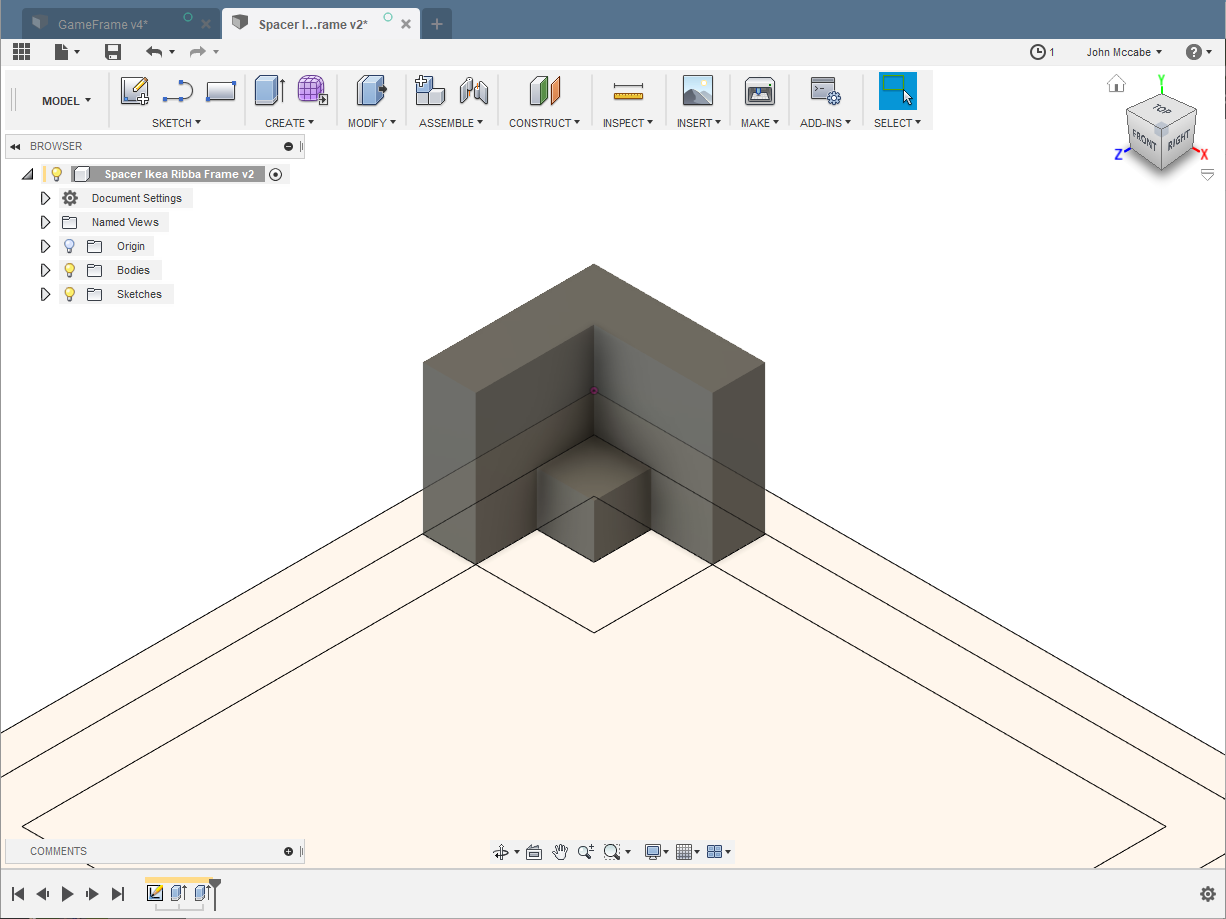
As the print bed size is limited I opted to print corner spacers that both position the mesh + Ubercorn in the centre of the frame, and push them down when the Ribba frames back is clipped in place.
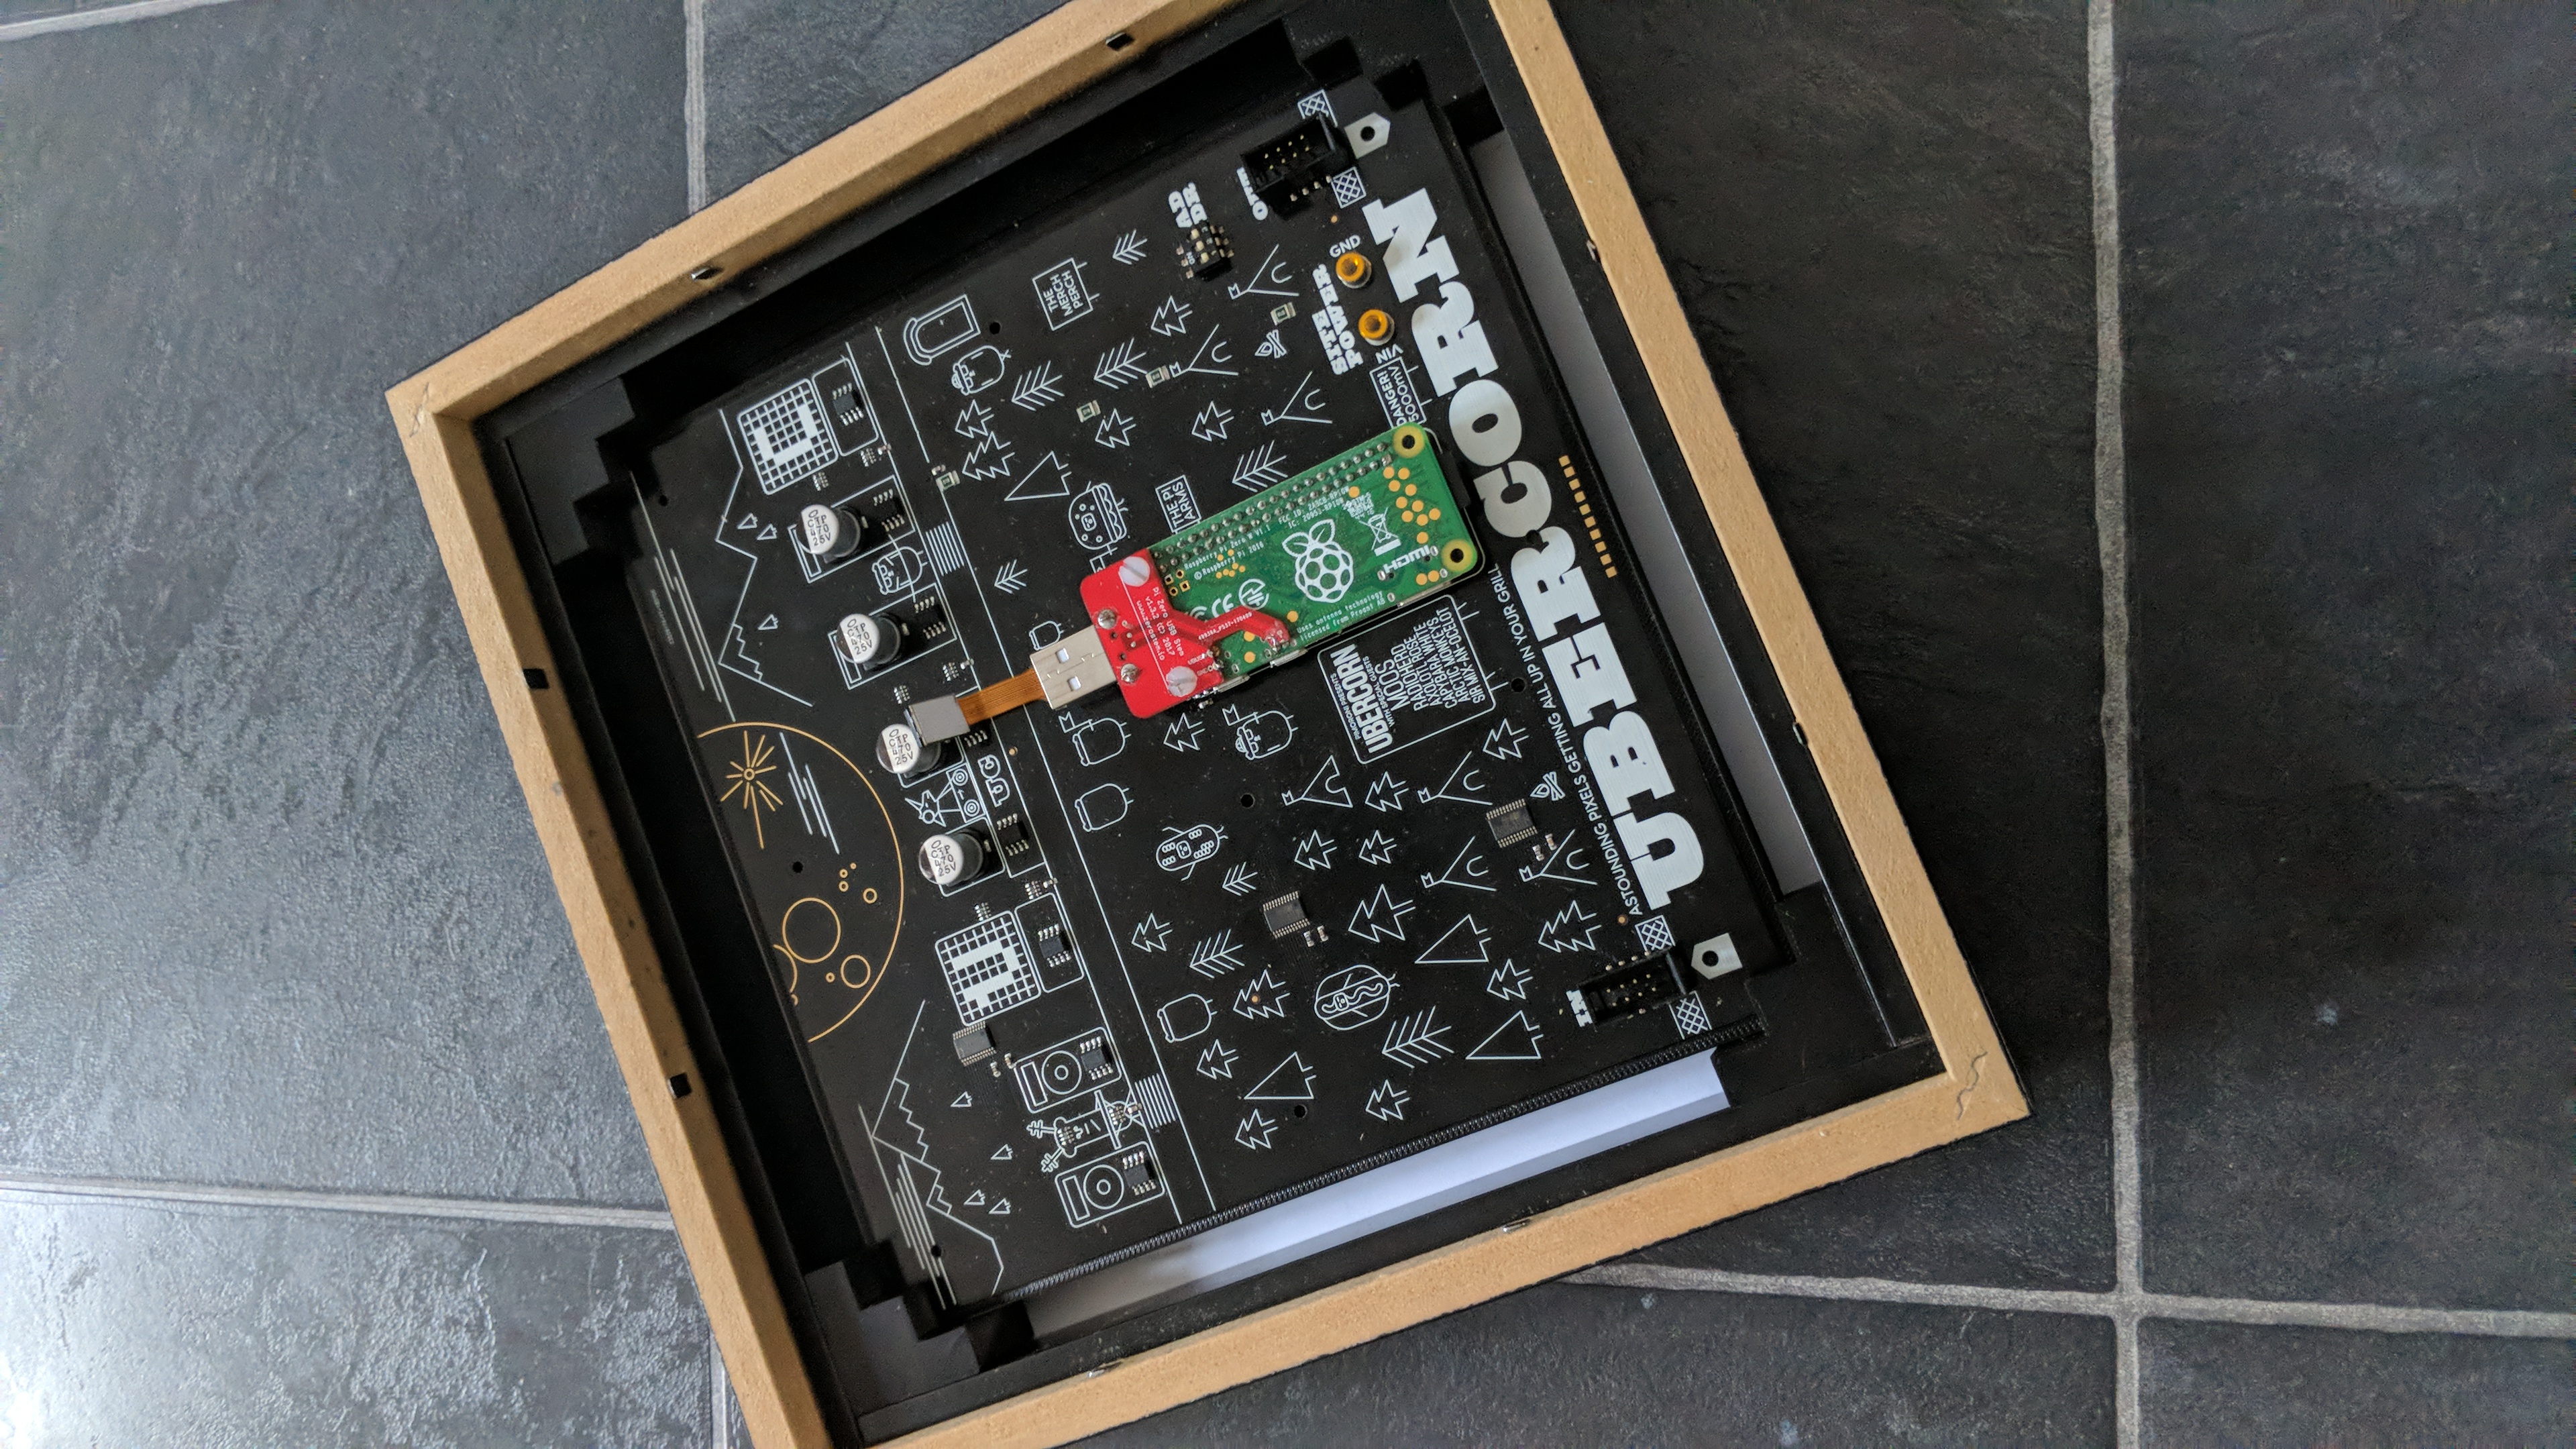
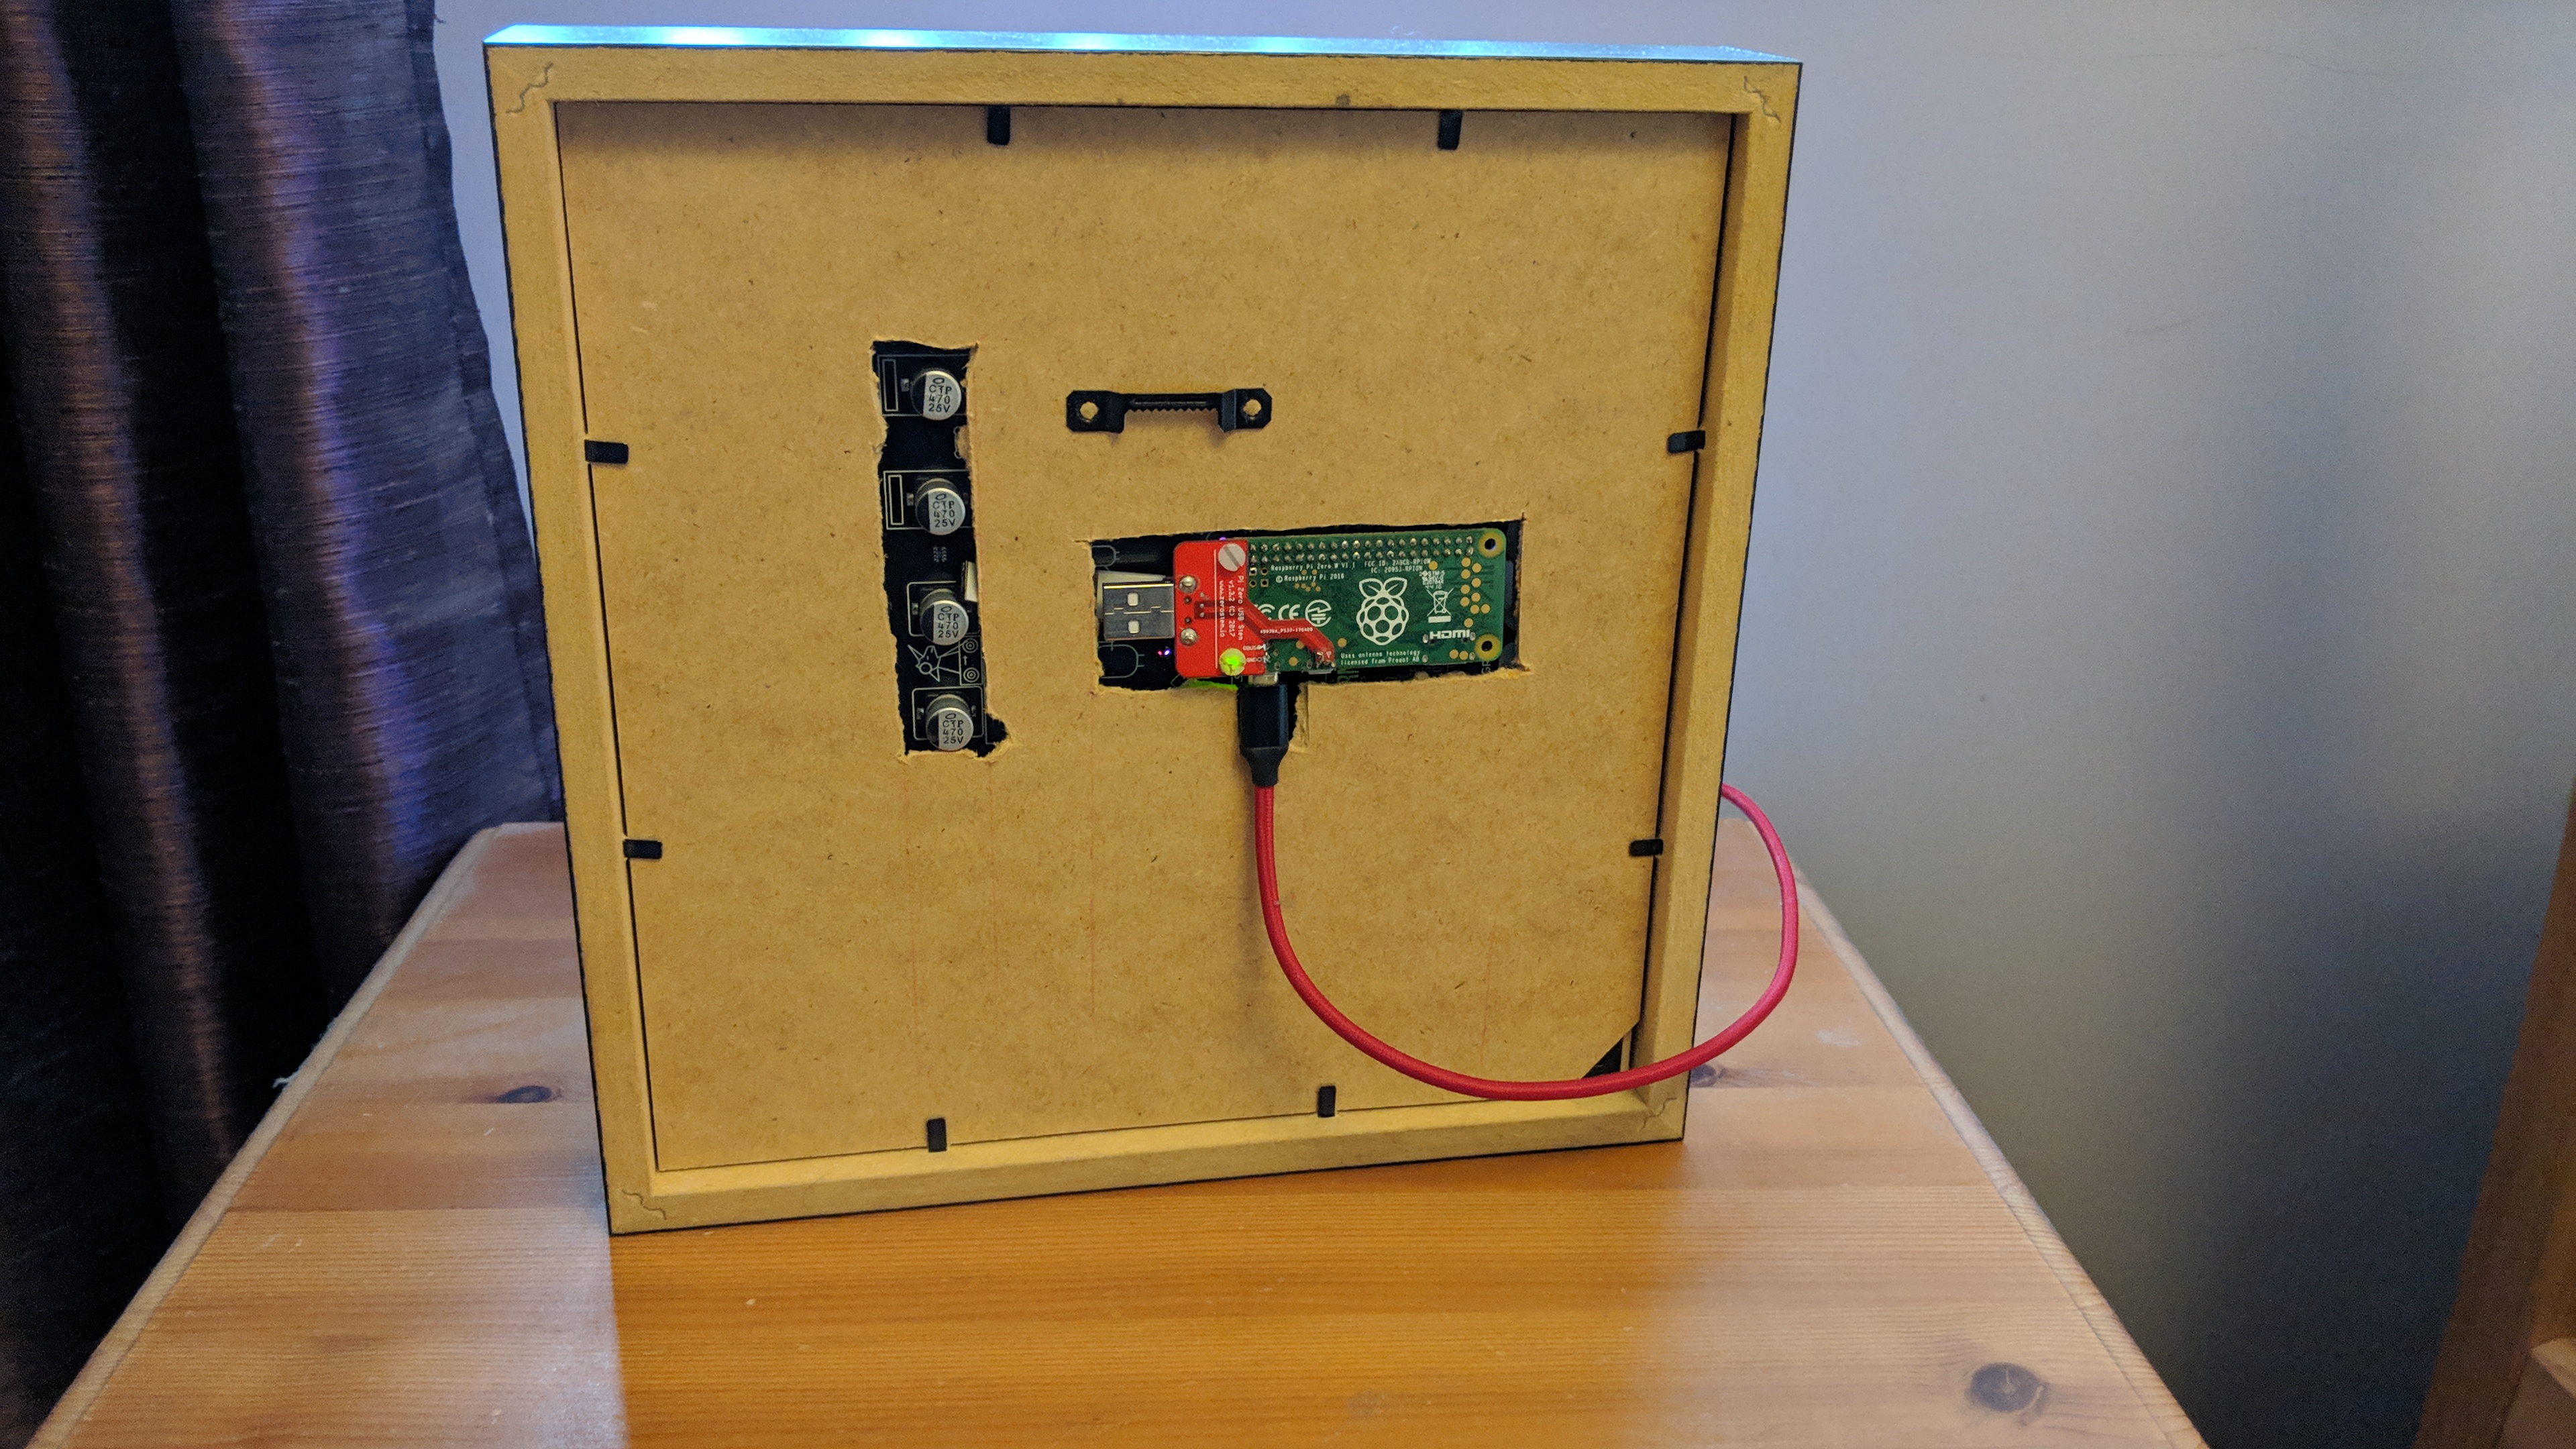
I avoided making any modifications to the Ikea Ribba frame up to this point, but the capacitors and Pi Zero both extend beyond the frames default spacer so I had to cut (very badly) some holes to allow me to replace the frames back. I may print some vented covers to tidy the appearance.
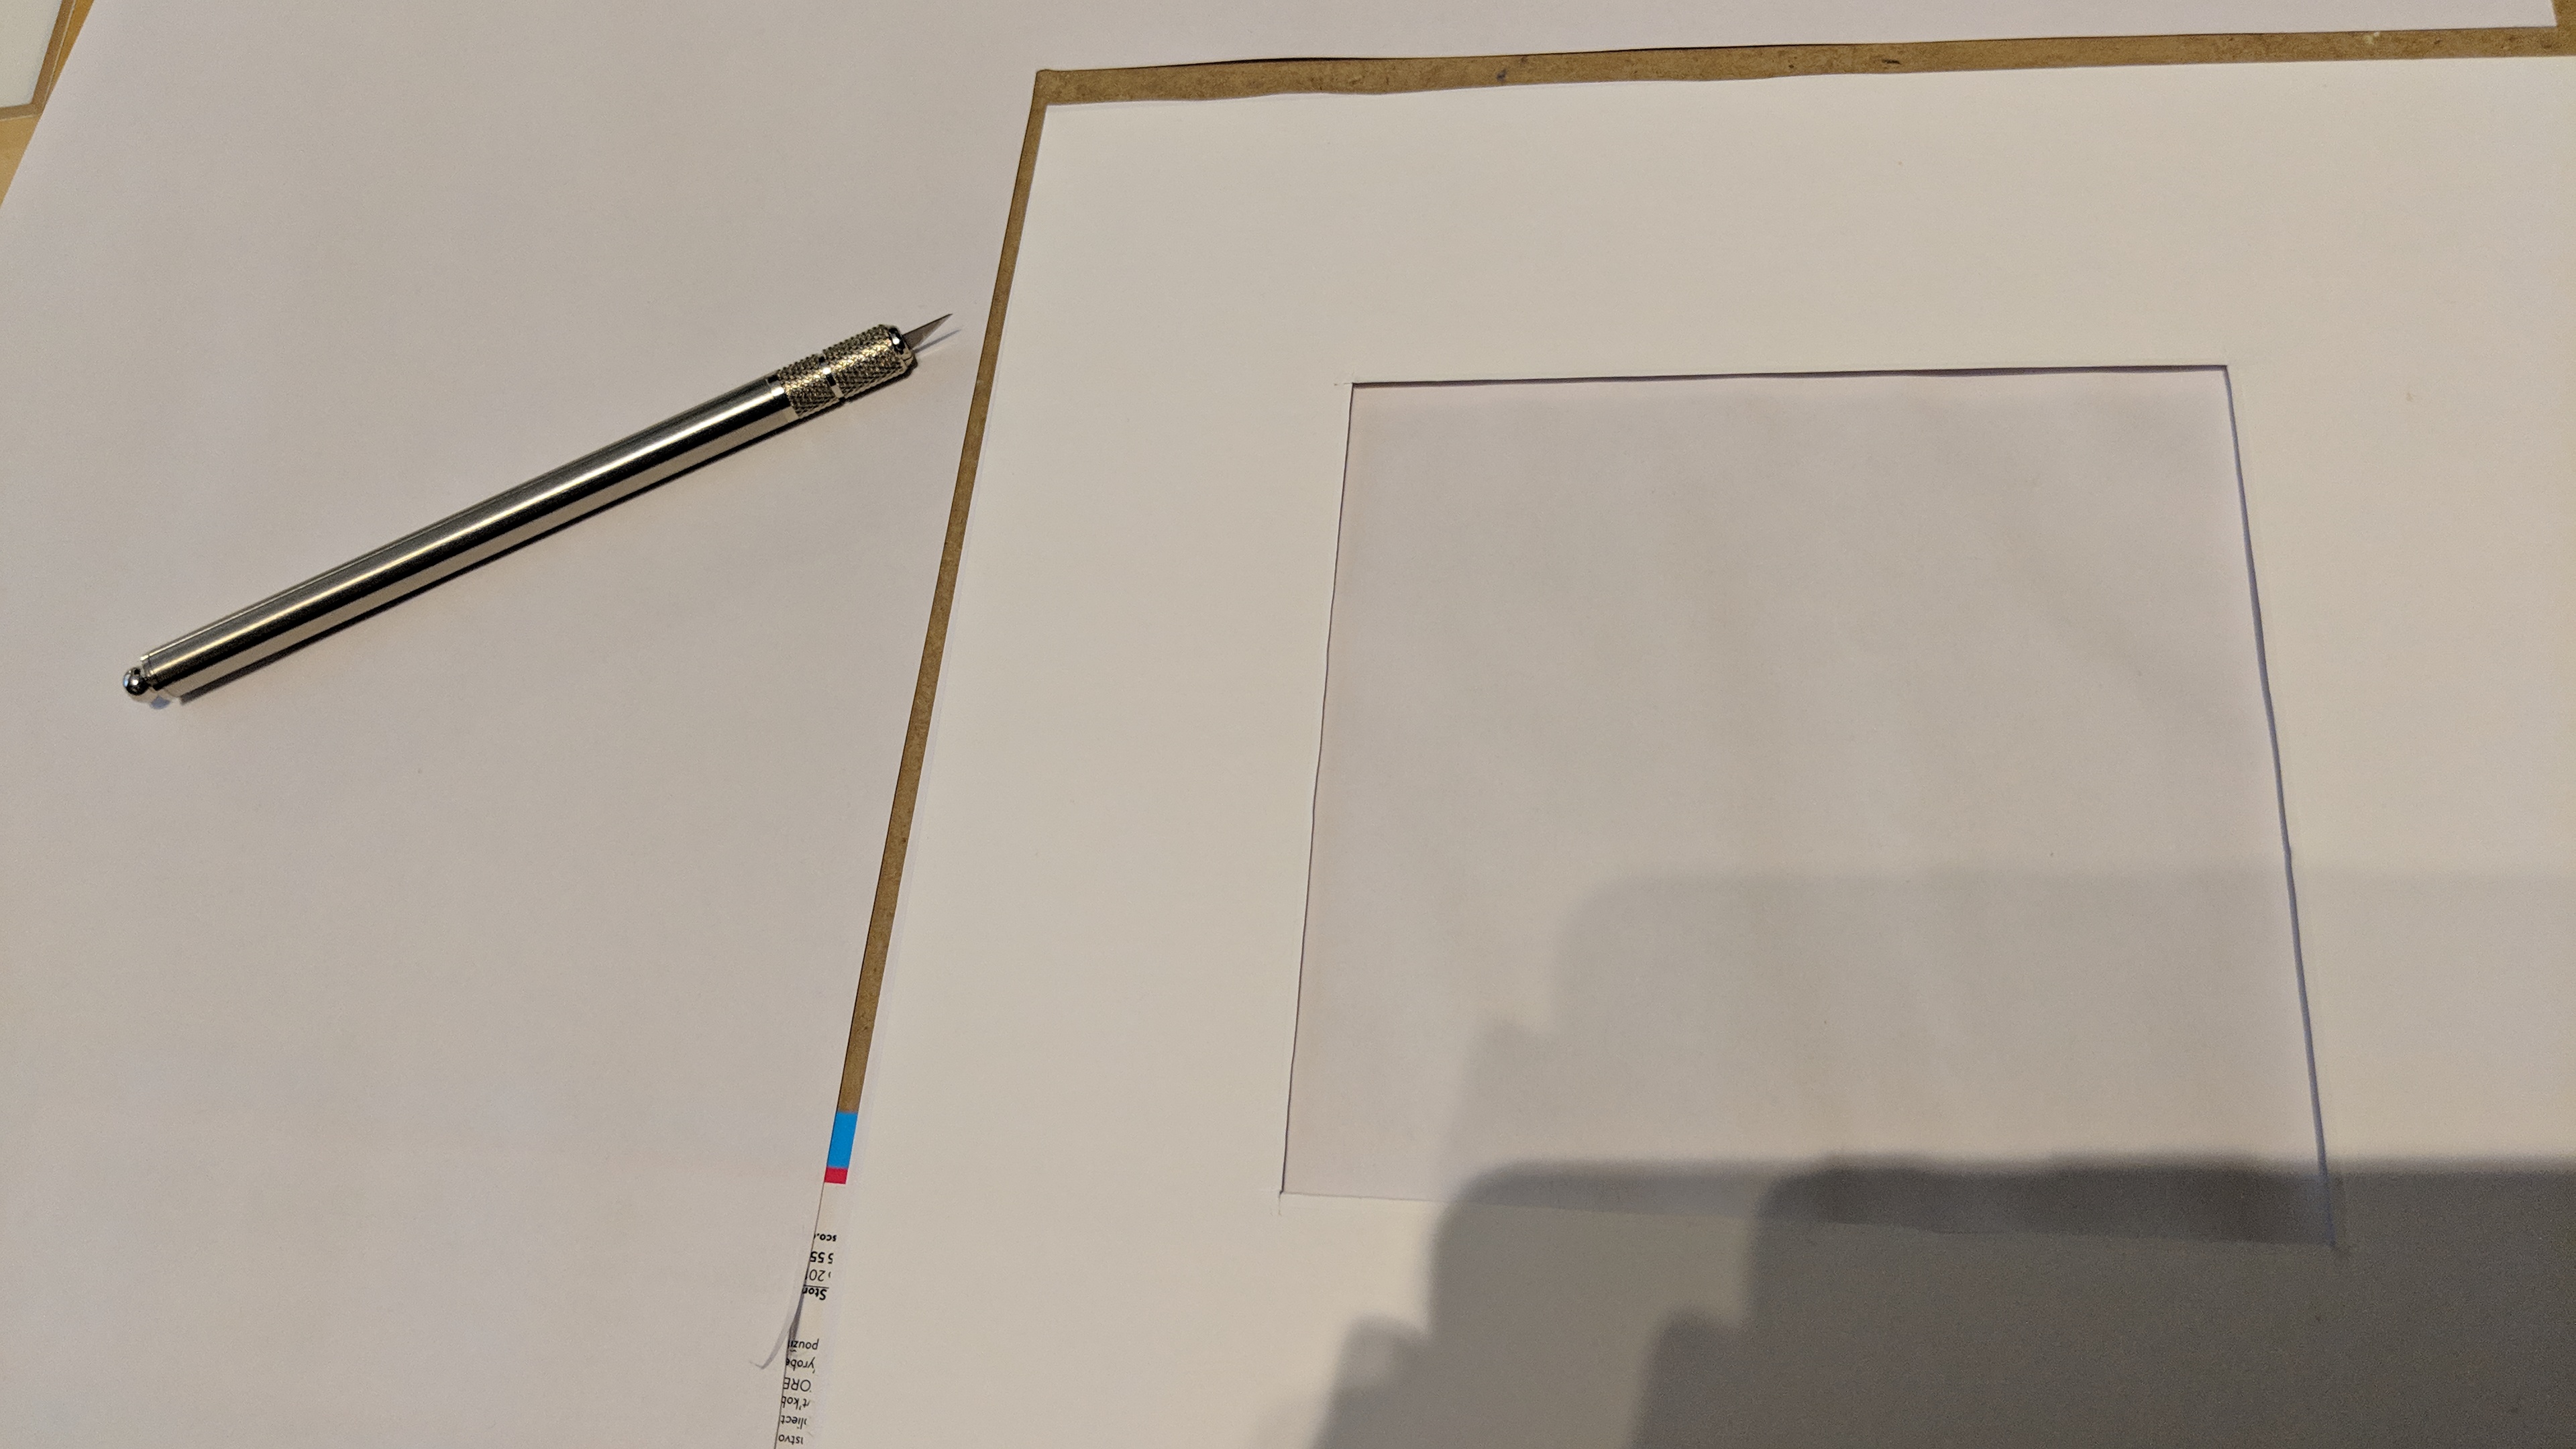
As a final step before reassembling the Frame and Ubercorn, I cut a simple diffuser from some A3 kids sketch paper (picked up in Tescos) using the frames mount as a template.
After ensuring the frame was clean, and assembling everything I found the diffuser was seperated from the mesh in the centre of the frame, resulting in the mesh seen through the diffuser losing sharpness. I fixed this by a light application of glue stick to the mesh and pushing down on the front of the frame gently when reassembled so that the diffuser adhered to the mesh.
I’ve been very pleased with the build so far and look forward to spending some time working on the software side next, watch out for a Part 2 post in the coming weeks, where I’ll be picking up the official Game Frame images from Ledseq and getting them working on the Pi.

I’ve shared my STL files on Pinshape and I’d love to see how you get on printing your own, or if you create any cool modifications to the design - toot your pics to me @mccabe@mastodon.social.